Composting is an excellent way to reduce household waste while enriching your garden soil naturally. If you’re new to composting, the process might seem complicated, but it’s actually quite simple once you understand the basics. This guide offers beginner tips for composting at home, helping you get started with confidence and care for the environment.
What Is Composting?
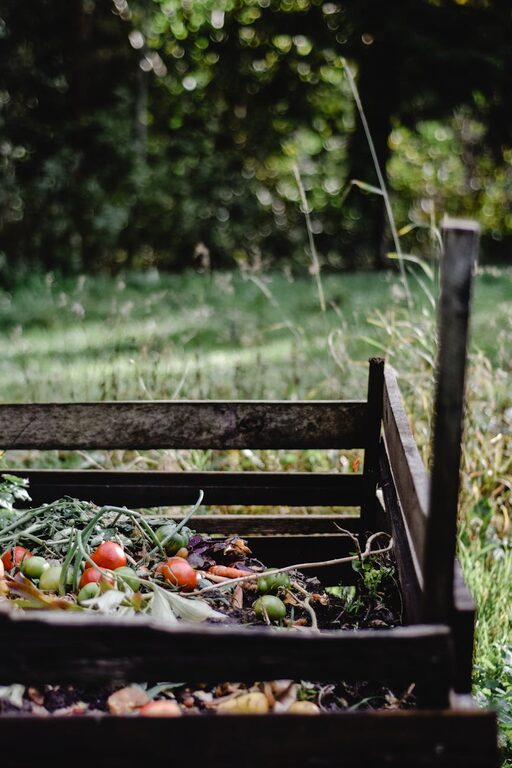
Composting is the natural breakdown of organic materials—like food scraps and yard waste—into nutrient-rich soil, called humus. When you compost, beneficial microbes and organisms decompose the material, turning it into a valuable resource for plants.
Benefits of Composting at Home
– Reduces waste: Cuts down the amount of garbage sent to landfills.
– Improves soil: Adds nutrients and improves soil structure.
– Saves money: Reduces the need for chemical fertilizers.
– Supports plants: Enhances water retention and plant growth.
Getting Started: What You Need
Choosing the Right Compost Bin
Start with a simple compost bin or pile in your backyard. You can buy a bin or create a DIY version using wood pallets or wire mesh. For small spaces or apartments, consider indoor composting options like worm bins or bokashi systems.
Location Matters
Place your compost bin in a dry, shaded area with good air circulation. This helps regulate moisture and temperature, keeping the process working efficiently.
What You Can Compost
Browns and Greens
To create a balanced compost, you need two types of materials:
– Greens (nitrogen-rich): fruit and vegetable scraps, coffee grounds, grass clippings, tea bags.
– Browns (carbon-rich): dry leaves, straw, shredded paper, cardboard.
Avoid composting meat, dairy, oily foods, pet waste, or diseased plants, as these can attract pests or cause odor problems.
Balancing Your Mix
A good rule of thumb is to use about two to three parts browns to one part greens. This balance helps speed up decomposition and prevents your compost from smelling bad.
How to Compost Step-by-Step
Step 1: Layer Your Materials
Alternate layers of greens and browns in your bin. Start with a layer of twigs or coarse materials at the bottom for aeration.
Step 2: Maintain Moisture
Your compost should be as damp as a wrung-out sponge. Add water if it’s too dry, or add more browns if it’s too wet.
Step 3: Turn the Pile Regularly
Mix or turn your compost every 1–2 weeks to aerate it. This helps microorganisms break down material faster.
Step 4: Watch for Progress
Within a few months, your compost will turn dark and crumbly with an earthy smell. This means it’s ready to use.
Tips for Troubleshooting Common Issues
– Bad smell: Usually caused by too many greens or lack of air. Add browns and turn the pile.
– Pile won’t heat up: May need more greens or moisture.
– Pests: Avoid adding meat or oily foods, and cover food scraps with browns.
Using Your Finished Compost
You can mix your compost into garden beds, use it as mulch, or add it to potted plants. It improves soil fertility and helps plants thrive.
Composting Indoors: Alternative Methods
If outdoor space is limited, consider:
– Worm composting (vermicomposting): Using red worms to break down scraps in a bin.
– Bokashi composting: Fermenting food scraps in a sealed container with special bran.
These methods are compact and odor-controlled, making them great for apartments.
Final Thoughts
Starting to compost at home is a rewarding and environmentally friendly activity. With just a bit of time and attention, you can reduce waste, enrich your soil, and enjoy a healthier garden. Remember, composting is a natural process that improves with practice, so keep experimenting and learning as you go!
Ready to start? Gather your scraps, set up your bin, and watch your waste transform into garden gold. Happy composting!